Left Sidebar — Add Clip Panel
The left sidebar contains four tabs for adding and configuring content.
Panel Overview
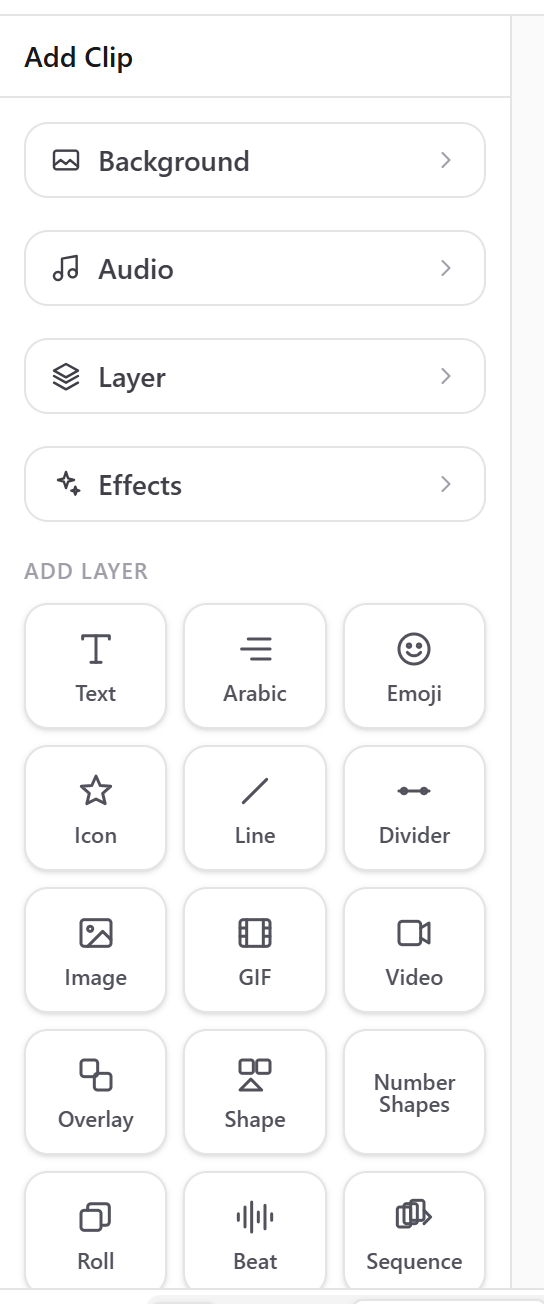
The left sidebar has two sections: the tab buttons at the top (Background, Audio, Layer, Effects) and the ADD LAYER grid below. Click a tab to expand its options. Click a layer button to add that type of content to the timeline.
Background Tab
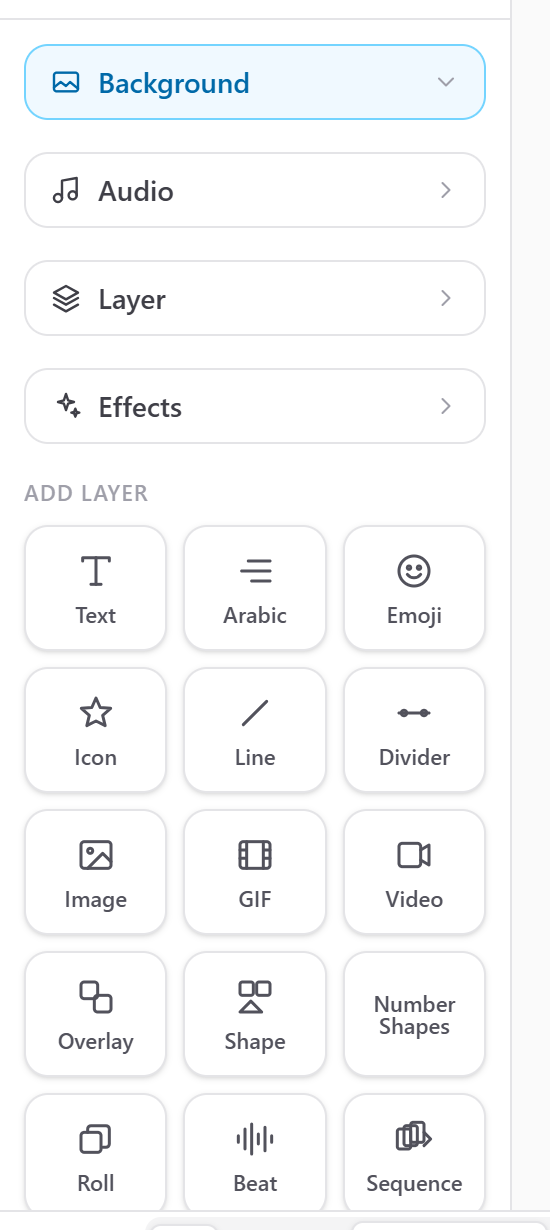
Click the Background button to expand background options. Here you can set the canvas background to a solid color, gradient, image, or video. Scroll down in the panel to see all options including blur, opacity, and animation settings.
Audio Tab
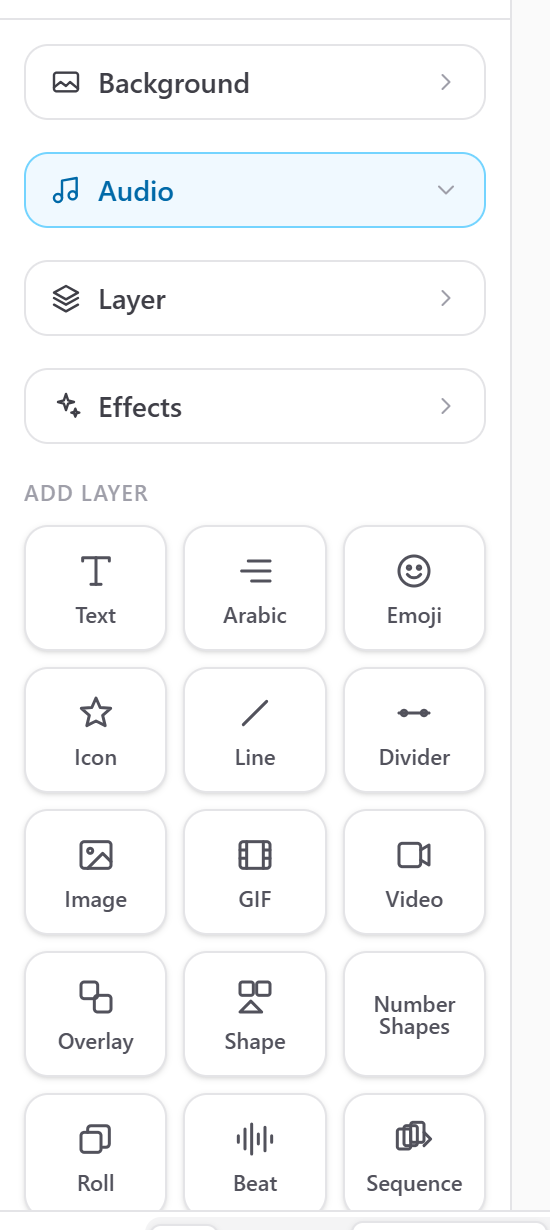
Click the Audio button to expand audio options. Upload an audio file (MP3, WAV, OGG), adjust the master volume, and apply audio effects like echo, delay, and chorus. You can also open the Audio Curve Editor for precise volume control.
Layer Tab
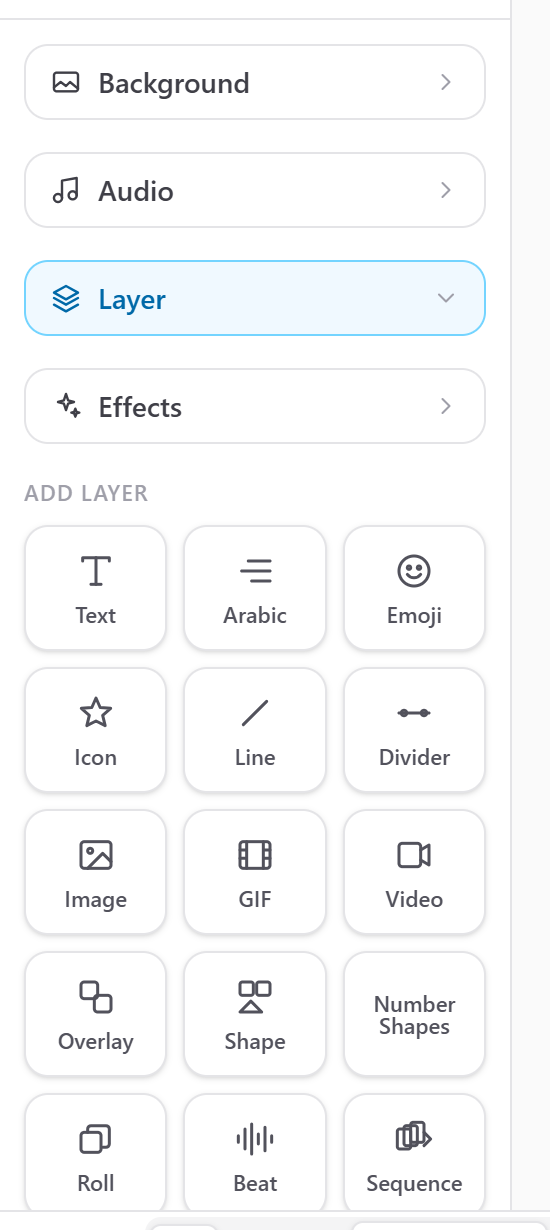
Click the Layer tab to manage all layers in your project. This shows a list of every clip on the timeline. You can reorder layers, lock them, hide them, or delete them from this panel.
Effects Tab
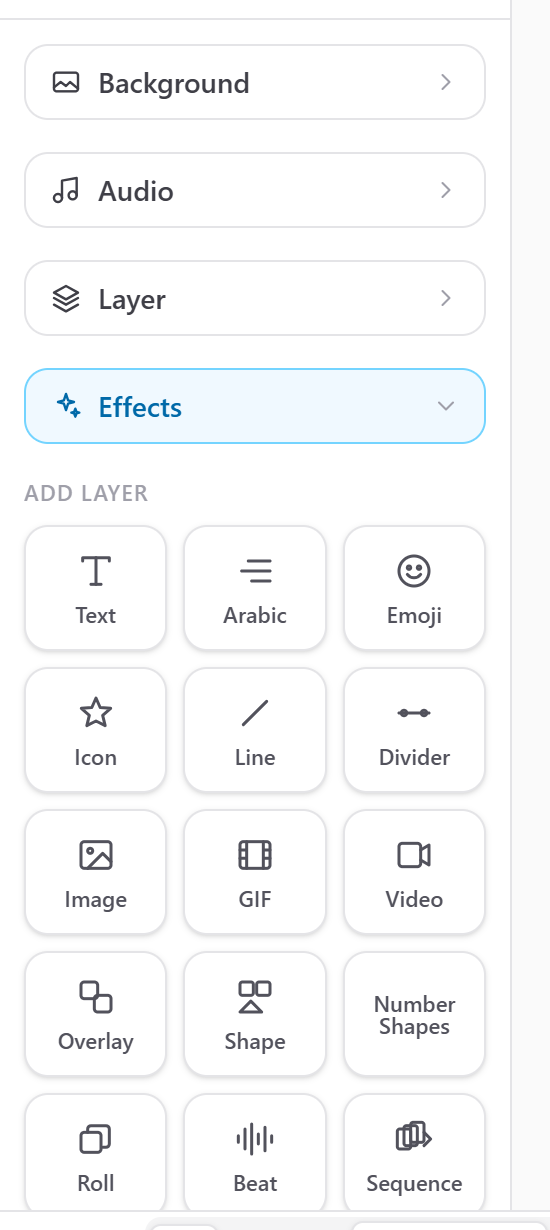
Click the Effects tab to access particle effects and visual filters. Choose from 38 different filter types including blur, sharpen, vintage, sepia, and more. Adjust intensity, speed, and other parameters with the sliders.
ADD LAYER Buttons
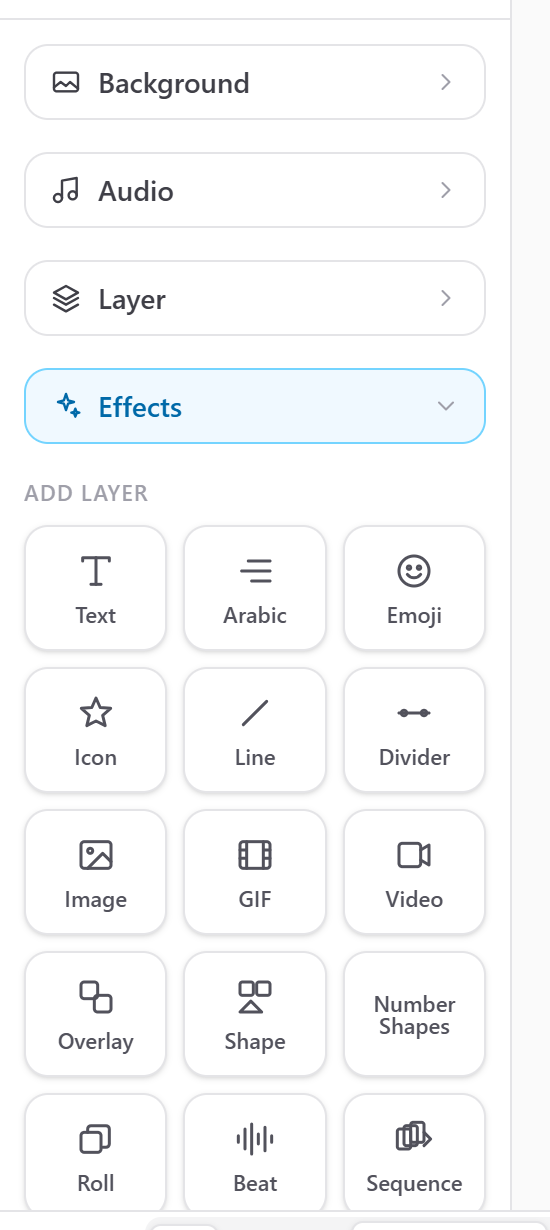
Below the tabs is a grid of 17 buttons for adding different types of content. Each button adds a new clip to the timeline at the current playhead position.
Text — Add a text layer
Arabic — Add right-to-left Arabic text
Emoji — Add emoji stickers
Icon — Add vector icons
Line — Add a line shape
Divider — Add a decorative divider
Image — Upload an image
GIF — Upload an animated GIF
Video — Upload a video clip
Overlay — Add an overlay effect
Shape — Add geometric shapes
Number Shapes — Add styled number stickers
Roll — Add a scrolling roll effect
Beat — Add beat-synced content
Sequence — Add a timed sequence
Lower Thirds — Add lower-third name tags
Brush — Enter brush/mask mode