Getting Started with Videoz
Your first look at the Videoz editor — interface overview and basic workflow.
Open the Editor
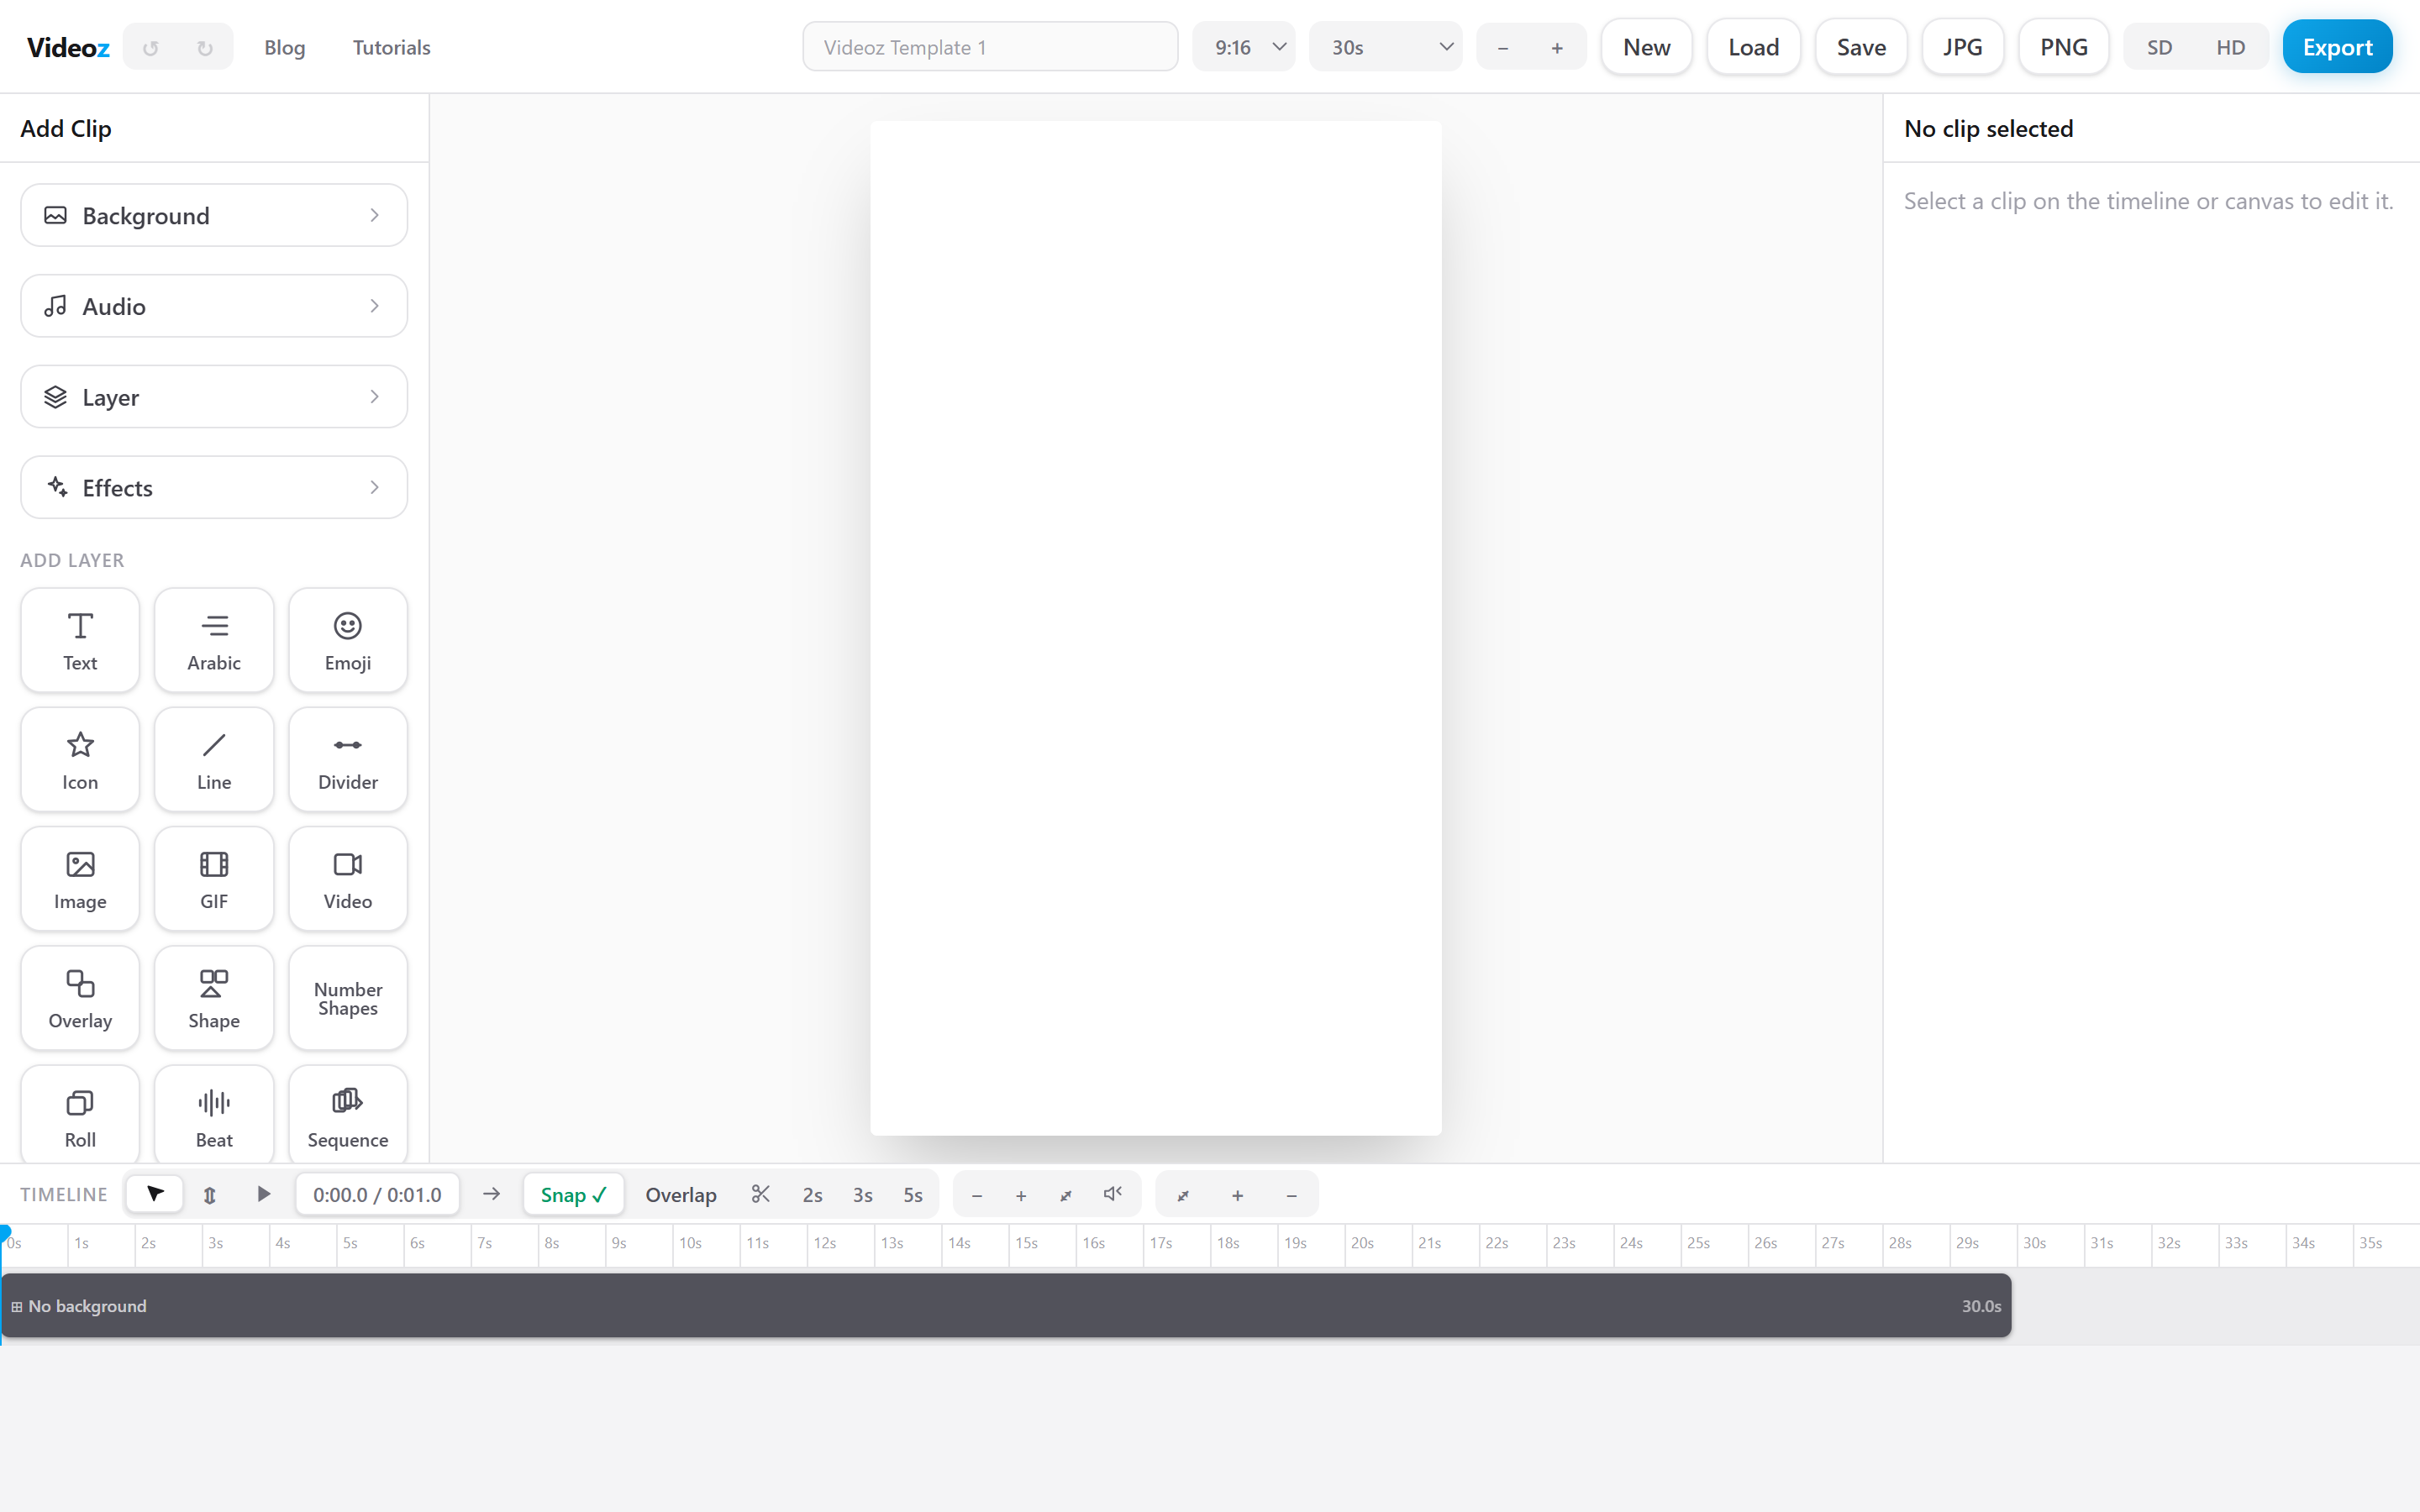
Visit videozcc.pages.dev in Chrome, Edge, or Firefox. The editor loads entirely in your browser — no download, no installation, no account required.
Understand the Layout
The editor has four main areas:
Header bar — Project controls, undo/redo, export buttons (top)
Left sidebar — Add Clip panel with Background, Audio, Layer, and Effects tabs
Canvas — The main preview area (center)
Right sidebar — Inspector panel for editing selected clips
Timeline — Where you arrange and trim clips (bottom)
Start a New Project
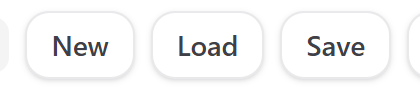
Click the New button in the header to start fresh. You will be asked to confirm — click OK to clear everything and start with a blank canvas.
Set Your Canvas Ratio
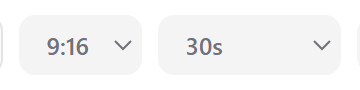
Use the ratio dropdown in the header to choose your video format. Common ratios include:
16:9 — YouTube, landscape video
9:16 — TikTok, Instagram Reels, YouTube Shorts
1:1 — Instagram feed posts
4:5 — Instagram portrait
14:5 — Ultra-wide cinematic
Add Your First Clip
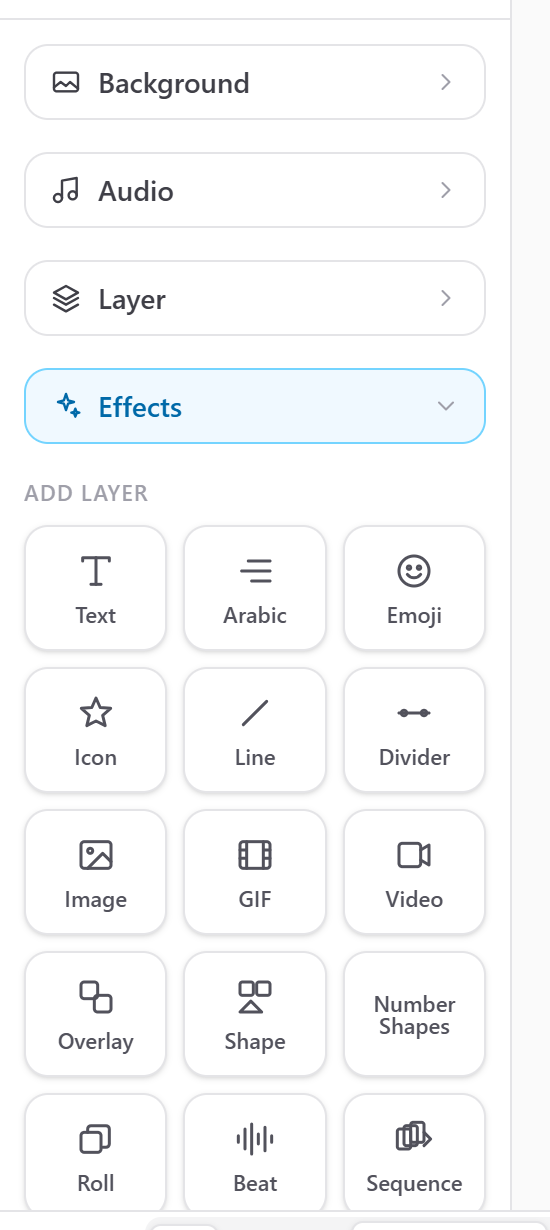
In the left sidebar, click any button under 'ADD LAYER' to add content. Start with Text for a title, Image for photos, or Video for video clips. Each click adds a new layer to the timeline.
Edit on the Timeline

New clips appear on the timeline at the bottom. Click a clip to select it, then drag to reposition. Use the edges to trim. The right sidebar (Inspector) shows editable properties for the selected clip.
Export Your Video

When ready, click Export in the header. Choose SD (720p) or HD (1080p) quality. You can also save a still frame as JPG or PNG using the image export buttons.